Getting your old skateboard bearings off is relatively easy. Unfortunately, if you do not know how to do, you may find it quite tricky. Hence, this article perfectly suits your needs right now. Take a seat and keep reading for further reference.
Tools
To get bearings out of skateboard wheels, it is crucial to prepare some following tools, such as:
- Screwdriver
- Wrench
- Bearing pusher
- Skateboard tool
- Leverage
- Other relevant things such as towel, fluid, etc
How to Get Bearings Out of Skateboard Wheels
1
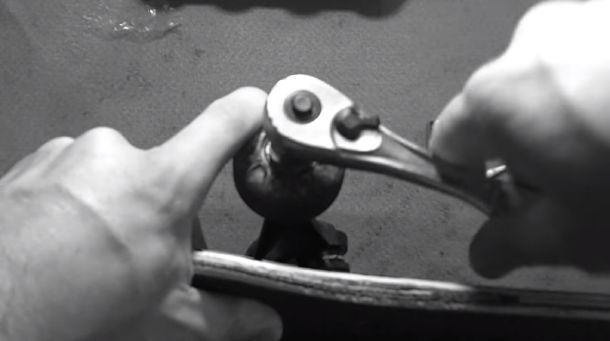
Unscrew the Wheels from the Axle
Unscrew the Nut Holding the Wheel on the Axle
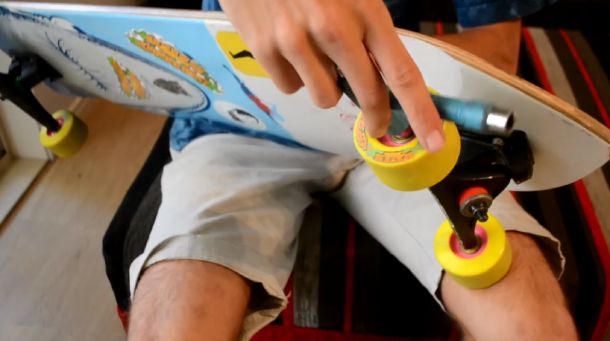
According to the specific situation, you can take all the nuts or just a nut off. For example, if you want to change all the bearings, you must remove all the nuts of four wheels. On the contrary, if you are pretty sure to find out where is the problem, you only need to remove those wheel nuts.
However, you should determine whether your skateboard has some types of bearing shields or not to remove them too. Besides, if there are the spacers in your wheels, make sure not to lose them when you remove and put wheels back onto the skateboard.
Push the Wheel to the End of the Axle
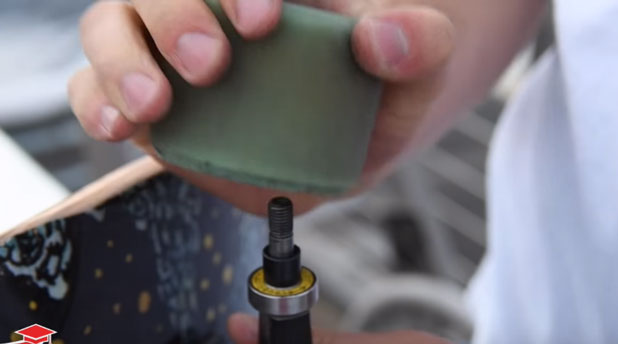
In addition, in case there is a bearing puller on your skateboard tool, you can use it to remove the bearings instead of the axle. Of course, you should take the wheel off of the axle completely.
Another thing you must notice is that between and the axle, there are some washers that you cannot lose.
Pry the Bearing from the Skateboard Truck
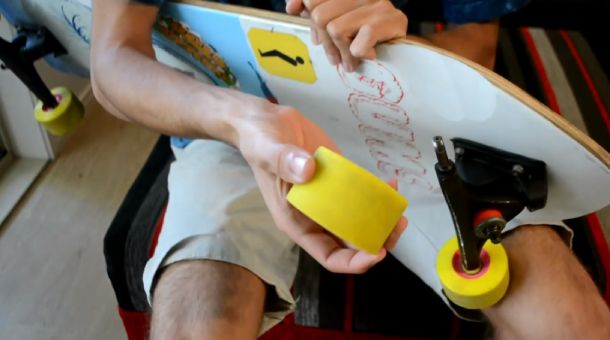
The next step is using leverage slowly and gently to pull the bearing out of the wheel in one direction. A downward angle is suggested in this case. The bearing should generally pop out of the wheel, but it might not come out all the way. Thus, pry it to a different direction until it is got out. This process is the same as the way you take the lid of a glass bottle.
This process asks the carefulness as well as slowness. If you want to replace new bearings, it is fine to break the old ones. On the contrary, if you do not want to throw these skateboard bearings away and just clean them, be gentle as much as you can.
Besides, while using a bearing puller to pry the bearing out of the wheel with ease, let’s put the tip into the bearing so that it can hook the edge of the bearing.
Remove the Other Bearing from the Same Wheel
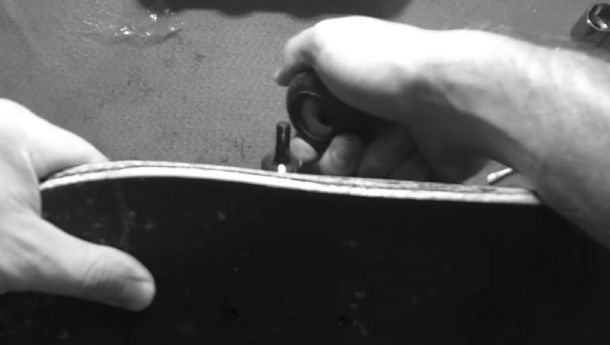
If you have removed one bearing once, it is more convenient to repeat this process for the other side. Let’s put the tip of the axle rod into the second bearing after flipping the wheel over. In this step, you find it easy to pry the bearing out as the wheel is visible inside. As a result, you can consider how far the axle or tool goes in. Of course, it is crucial to leave enough space for the axle not to hit the inside of the wheel.
2
Clean Skateboard Wheel Bearings
 While you notice that your bearings seem to be mucky or make gravely sound when you spin the wheels, it is the right time to clean the skateboard wheel bearings. Make sure to do this fairly often to increase the lifespan of your bearings.
Clean Dirt and Buildup Off of the Bearings
Use a ramp paper towel or old rag to wipe the dust from the bearings. If there is any noticeable debris on the bearing, remove it immediately. You should clean the bearings out wholly front and back not to miss out any dust. A quick clean is enough for those bearings that have not much problem.
Pop the Rubber Guards Off
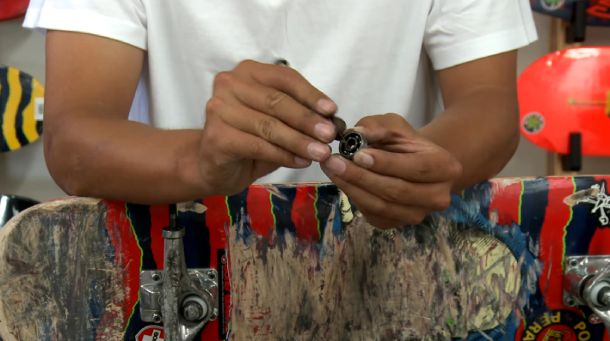 This step of popping the guards off requires a sharp thing such as a small screwdriver, razor blade, or paper clip. Choose one among these things to slide it under the rubber guard. Make sure to be gent while you are prying it off. If you are not careful, the rubber guard might be cut or more serious, the rest of the bearing is damaged. In this case, I suggest that a razor blade is more suitable than a paper clip.
The guard does not actually need to be removed. Nevertheless, it is essential when you are cleaning the bearing as thoroughly as you can. Moreover, remember that some special bearings have more than a guard. Hence, check carefully and remove all of them before proceeding with cleaning.
Soak the Bearings in Bearing-specific Solvent
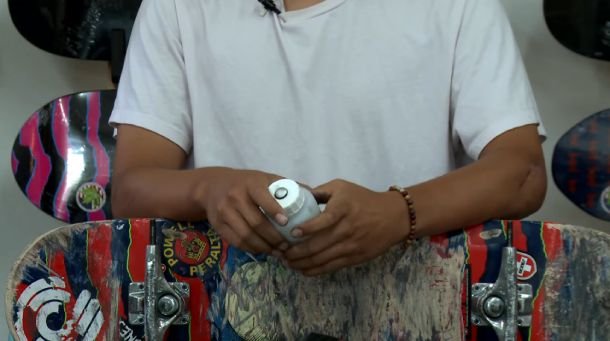 You need to prepare a bearing-specific solvent that many local skate shops have offered. Moreover, you can consult some fluids including some acetone, pure rubbing alcohol, carburetor cleaner, or even lemon juice which take the place of cleaning solvent. Then, put the bearings into a glass jar that has been filled with fluid. The time we soak the bearings is up to how dirty they are. Ten-minute is normally perfect.
However, the new bearings will be worth your investment in case the old ones are incredibly rusty. Rusty bearings cannot work as efficiently as it used to only by cleaning and lubricating. Having the bearings cleaned and lubricated actually helps them run again but does not ensure their good condition.
Swirl the Bearings Around in the Jar
After about 10-minute soaking the bearings, you can shake them around the jar for one minute. This action allows you to remove further debris or buildup in the bearings. A 1-minute swirl assists in finishing off the cleaning.
Remove the Bearings from the Jar and Dry them Off
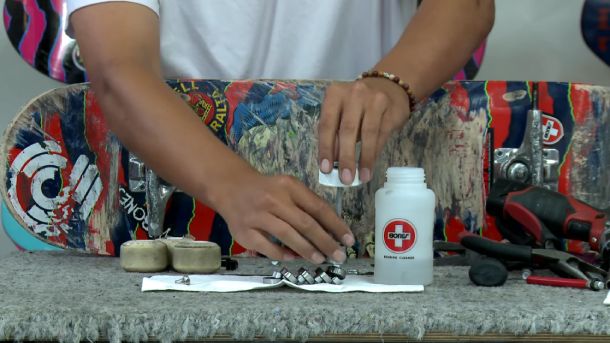 After the process of cleaning, now it is perfect for taking the bearings out of the jar. Then, you should lay them outs on a towel to let them dry. You had better use the towel to wipe the wet bearings in turn so that it can be as dry as possible. It is better to dry all sides by moving the balls around in the track or using a hairdryer or fan. As a result, all of the moisture in your bearings will be evaporated completely.
Spray or Wipe the Bearings with Lubricant
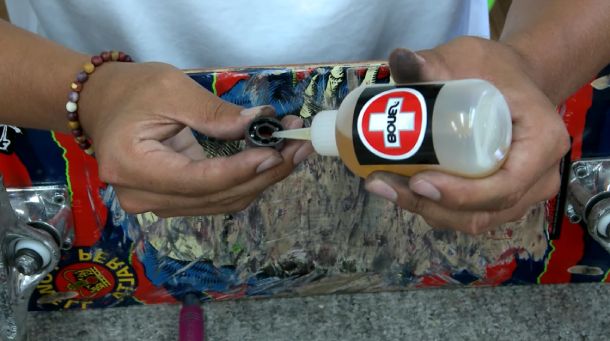 It is suggested to lubricate the bearing balls before putting them back on. The reason is that lubrication helps the bearings work more effectively. Cleaning is not actually enough. Hence, let’s take a few drops of lubricant buying from the skate shop. Another choice you can consult is that using motor oil or speed cream that most barbers use on their electric razors. One noticeable thing is WD40 is not suggested in this case since it can make the bearings dry out and crack.
Pop the Rubber Shield Back on as Well as Put the Bearings Back Onto the Wheels
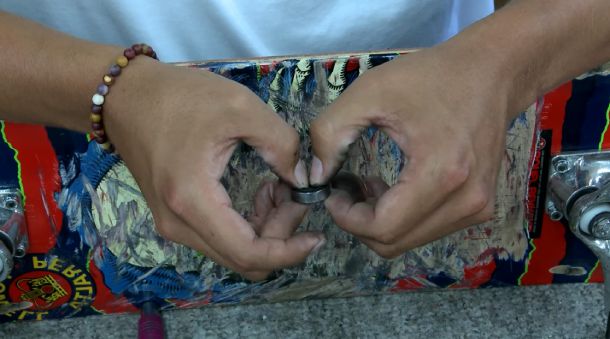 The last step you have to do is putting all of the guards back on. Then, you should put all of the clean bearings back onto the wheels. Two bearings will be put into two sides of a wheel, and eight bearings in total.
Wrapping Up
Regardless of how expensive your product is, it might wear out after being overused and put under excessive pressure for a long time. For this reason, you had better pay attention to maintaining carefully and frequently cleaning so that the performance of your bearings becomes better.
Hopefully, this article assists you a lot in getting the bearings out of skateboard wheels and cleaning them yourself. If you consider it as a useful guide, share it to your friend.
Original Post from this site
